 |
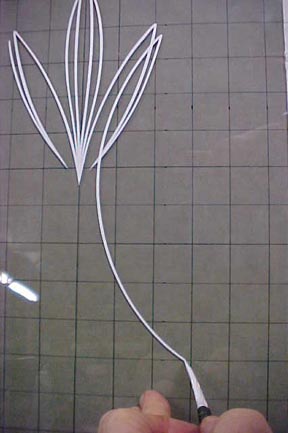
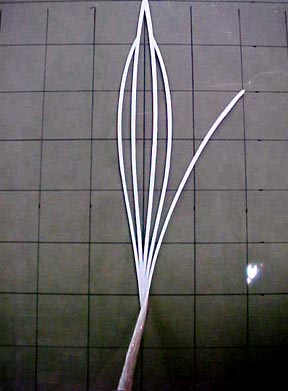
I am now expanding the design a little further out, not going too wide or it will throw the balance off. |
|
|
|
How to Pinstripe By Ray "el Vago" Smith Page 2
|
I am now expanding the design a little further out, not going too wide or it will throw the balance off. |
|
|
|
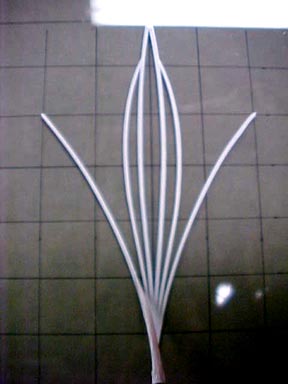
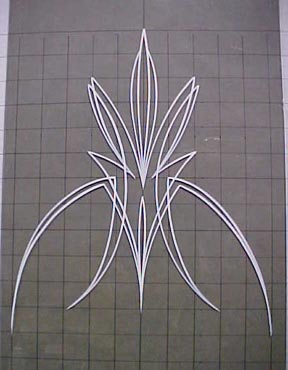
| The design is now moving further outwards and down and I've added a couple of extra lines as filler.You can add as many as you like but too much and it starts to get cluttered. |
|
|
|
|
|
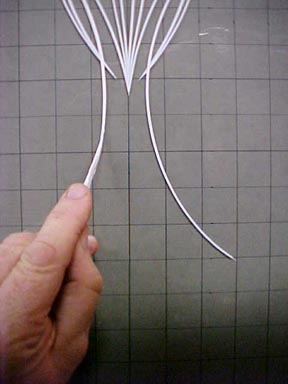
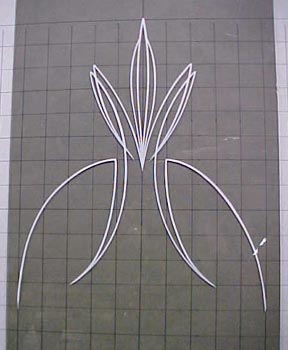
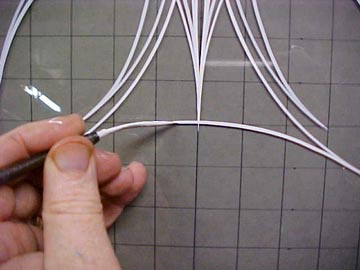
Now I've started to go out further to the side but still trying to maintain my triangular shape. On this type of juncture(90 degrees to one another), it's best to bring the brush tip gradually down to the line width and make your line; then go back and using the very tip of the brush, square up the junction. If you want to square a junction at the end of a stroke, it's better to run a little over and then come back with a DRY paper towel wrapped tightly over your fingernail and rub across the line. If you have solvent in the towel, it is almost impossible to dry the surface to continue painting. |
|
|
|
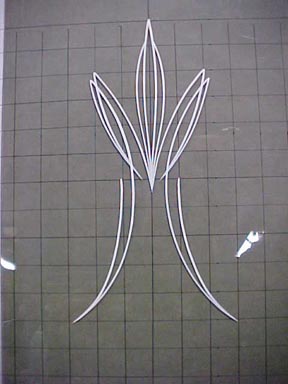
I'm adding a cross line to tie the bottom together. Again I'm working from right to left so I can see where my line is going. |
Want to learn more or share your work with others?
Join our pinstriperspage e-group Click here!
Need Brushes and Supplies? Click Here!
Copyright © 2004 @utomated Entertainment All Rights Reserved Hosted by Webmeister "Moldy Marvin"